Checklist and assembly
What to do when receiving your Coh&Co bikes
You’ve ordered and received your Coh&Co bicycles. Before they can be displayed in your shop, we would like you to go through a few steps to make sure that you’re good to go:
1. Check the box
It is very important to check the box for holes, dents, or any other signs of damage. We have a window of 7 days to report any eventual damage on the bikes to our courier, so please make sure to check the box and unpack the bike(s) within this time period. Should you encounter any problems, please report back to us with pictures and a description of the damage asap.
2. Assemble the bike
Once you’ve made sure that the bike is ok, it is time for assembly.
All Coh&Co bikes have been fully assembled, test-ridden, and quality checked before leaving Copenhagen. Our QC “Blue Paper” can be found in the envelope attached to the bike and is your assurance that we have gone over everything before sending the bike to you. Please have this by your side while you re-assemble the bike and be careful to follow the instructions on torque, Nm value for the stem, etc.
- Put the envelope, pedals, and accessories aside
- Unwrap the whole bike
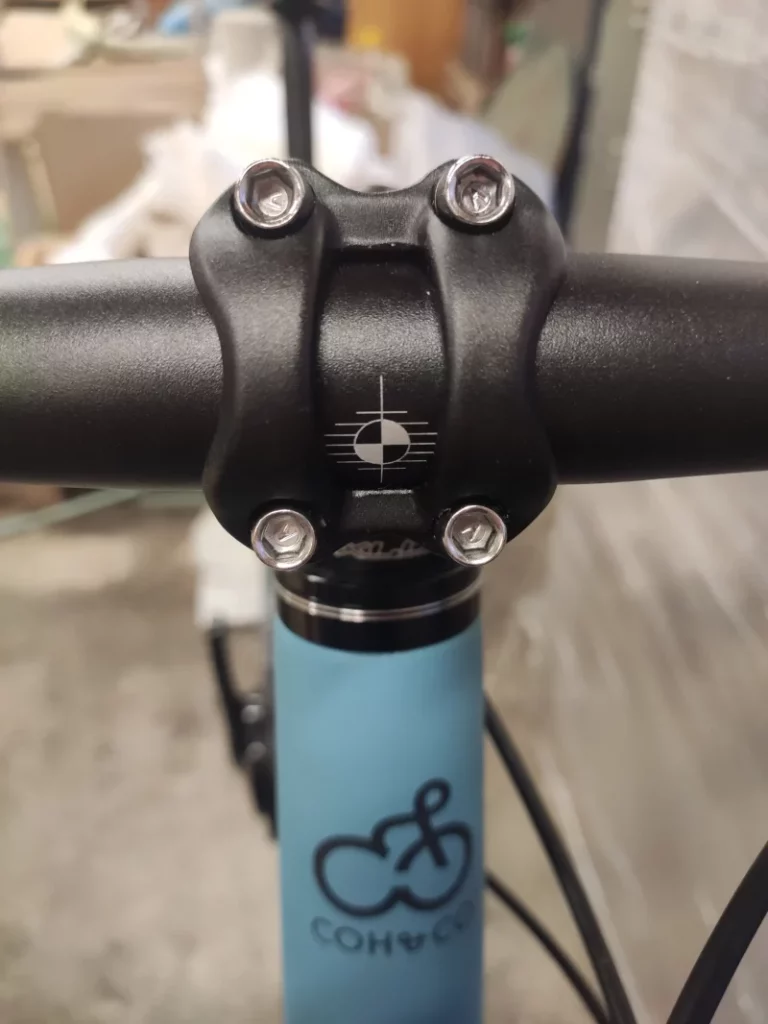
- Mount the handlebar to the stem (see image below)
- Remove the small piece of cardboard from in between the front brake pads
- Mount the front wheel and adjust the level so that the disc does not rub when spinning the wheel
- Pump up the tires to 4 bars
- Mount the pedals
- Add the long part of the seat post clamp on the non-drive side/small one opposite and put the curved sides facing the inside of the seat tube then insert the seat post and tighten the clamp to 6nm
- (OPTIONAL) Mount the fenders
Now you should be all set to perform your internal test procedure.
3. Save the envelope
You’ve already opened the attached envelope to take out the Blue Paper. Inside the same envelope, you will find a QR code. This QR code is the way in which a customer registers for their Lifetime Warranty. Customers should be made aware of this possibility at the latest at the time of purchase. Please read more about this under Customer registration.

